March 13, 2026
Water heaters are essential in providing hot water for various household needs. Proper maintenance not only extends the lifespan of your unit but also enhances its efficiency, saving you money on energy bills. By understanding and implementing regular upkeep strategies with the help of a water heater service, you can avoid unexpected breakdowns and extend your heater's operational life. Let's outline a few smart ways to maintain your water heater effectively.
1. Regular Inspection and Maintenance
Visual Check for Leaks and Corrosion
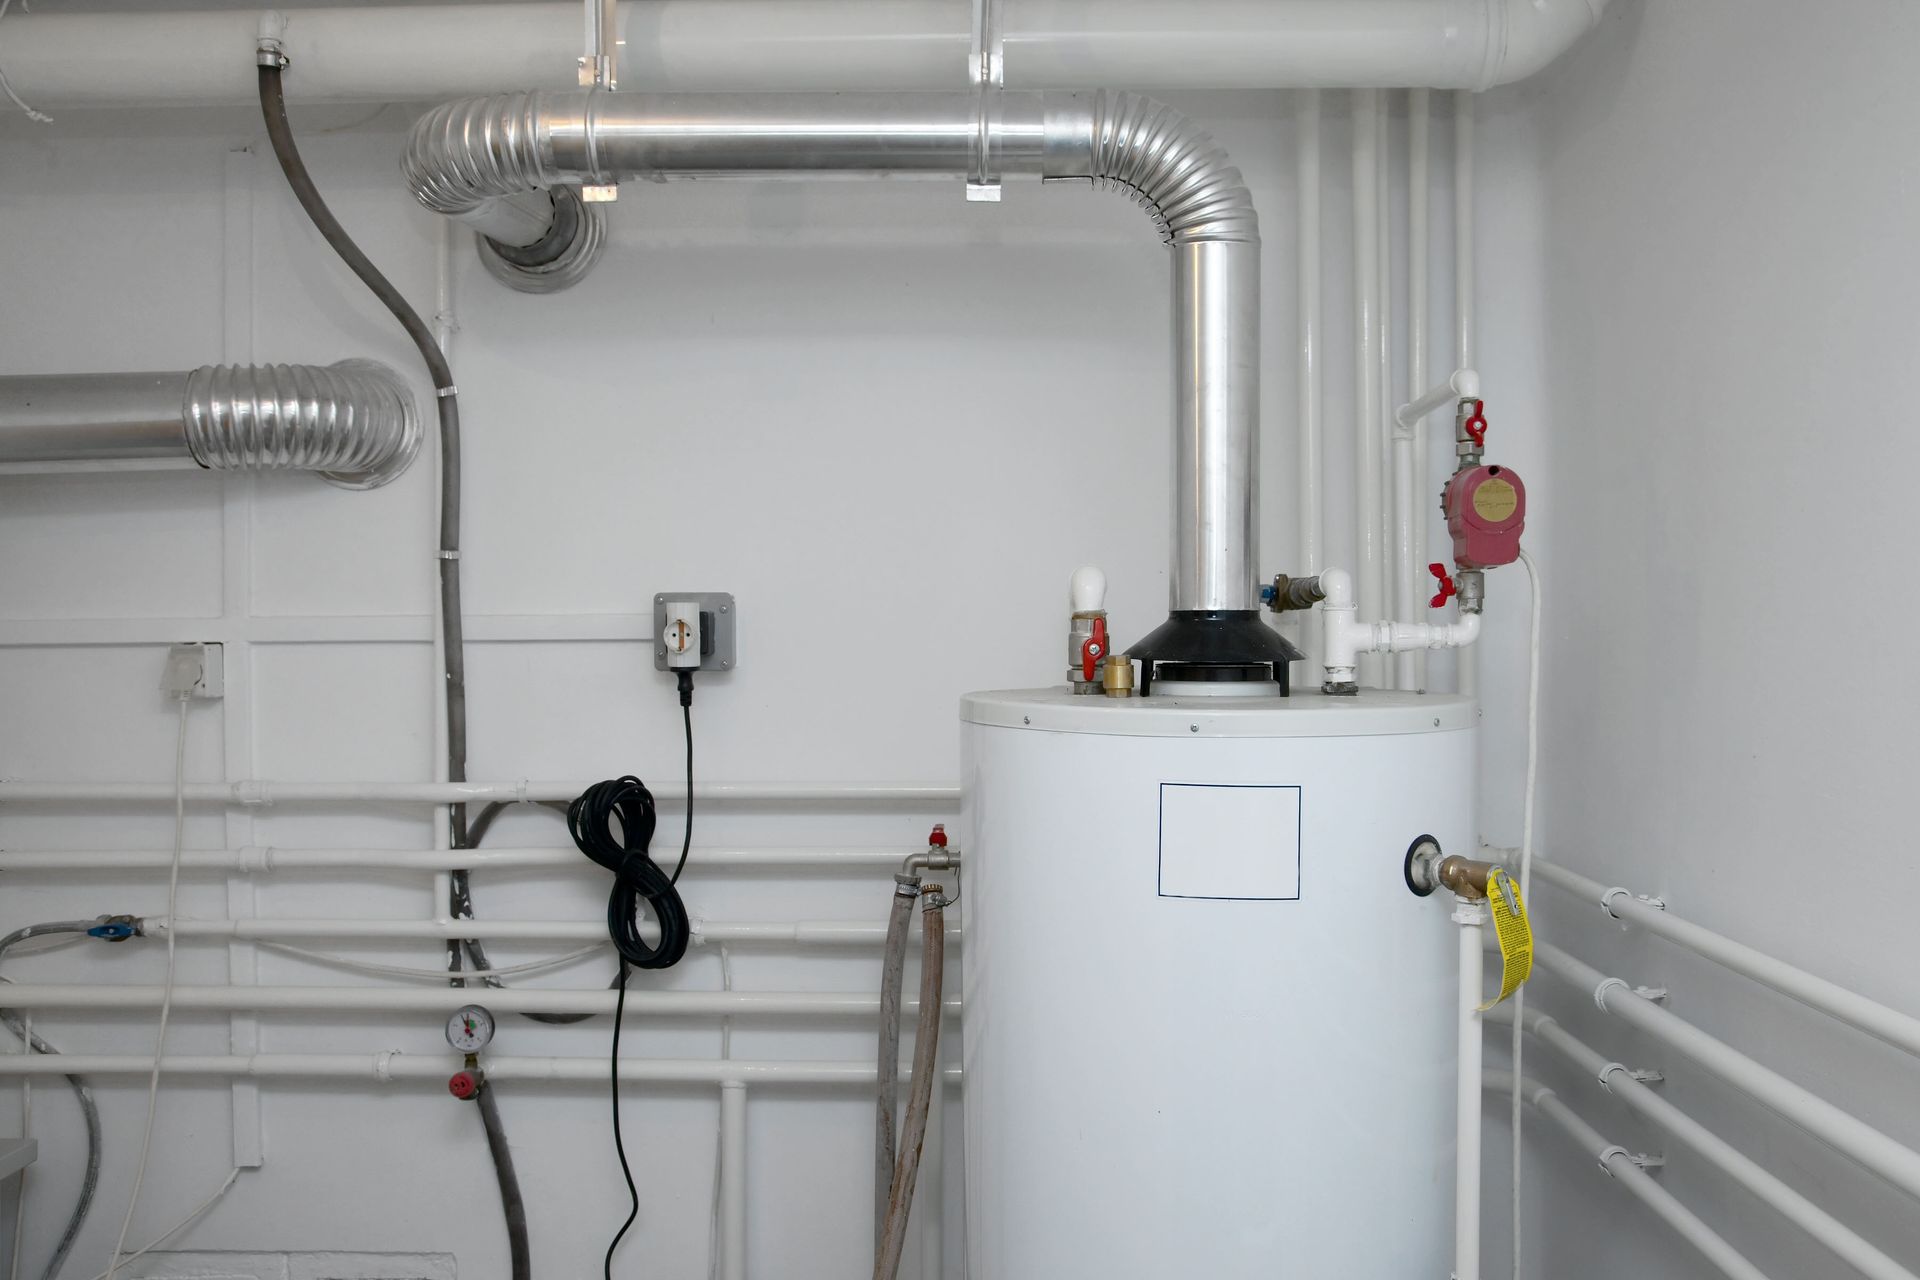
Regular visual inspections are critical in maintaining the longevity of your water heater. Begin by checking around the tank and pipes for any signs of leaks, as small leaks can escalate into significant problems if left unaddressed. Additionally, look for signs of corrosion, especially near connections, as rust and corrosion can weaken the unit's structure over time. Keeping an eye out for these issues will allow you to intervene early, safeguard your property, and avoid costly repairs. This preventive approach helps avoid unexpected water heater failures that can disrupt your daily life.
A proactive stance on maintenance pays dividends over time, considering the average tank water heater lasts about 10 to 15 years, according to This Old House. By keeping tabs on minor issues, such as leaks or corrosion, you can anticipate and manage problems before they worsen. Use a flashlight for better visibility when inspecting dark or hard-to-reach areas around your heater. Minor leaks can often be fixed easily, but persistent issues might require professional attention from a water heater service to ensure your water heater remains efficient. This periodical checkup empowers homeowners to maintain their investment with minimal stress.
Testing the Pressure Valve
Testing the pressure valve is an essential aspect of water heater maintenance. The temperature and pressure relief valve (TPR valve) releases excess pressure if the temperature or pressure inside the tank gets too high. To test the valve, simply lift the test lever and ensure that water flows out through the discharge pipe. If the valve appears defective or no water flows, it may be time to replace it. Regular testing of this valve ensures your water heater is operating safely and efficiently.
Failure of the pressure valve can pose safety hazards, including the risk of explosions if the pressure becomes too intense. Routine checks can prevent such dangerous scenarios. Should you find any issues during your test, it's vital not to ignore these warning signs and to take immediate corrective actions. Proper functioning ensures that excessive pressure is promptly relieved, minimizing potential damage. Also, understanding this component's role in your heater's functionality aids in maintaining its optimal operation.
Examining the Anode Rod for Replacement
The anode rod plays a pivotal role in prolonging the life of your water heater by attracting corrosive elements. Over time, the anode rod will become worn and will need to be replaced. Checking your anode rod annually is a recommended practice to prevent rust and corrosion from damaging the tank. To examine the anode rod, turn off the power and water supply, then unscrew the rod located at the top of the tank. If the rod is less than half an inch thick or coated with calcium, it's time to replace it with the help of a water heater service.
Inspecting Electrical Connections
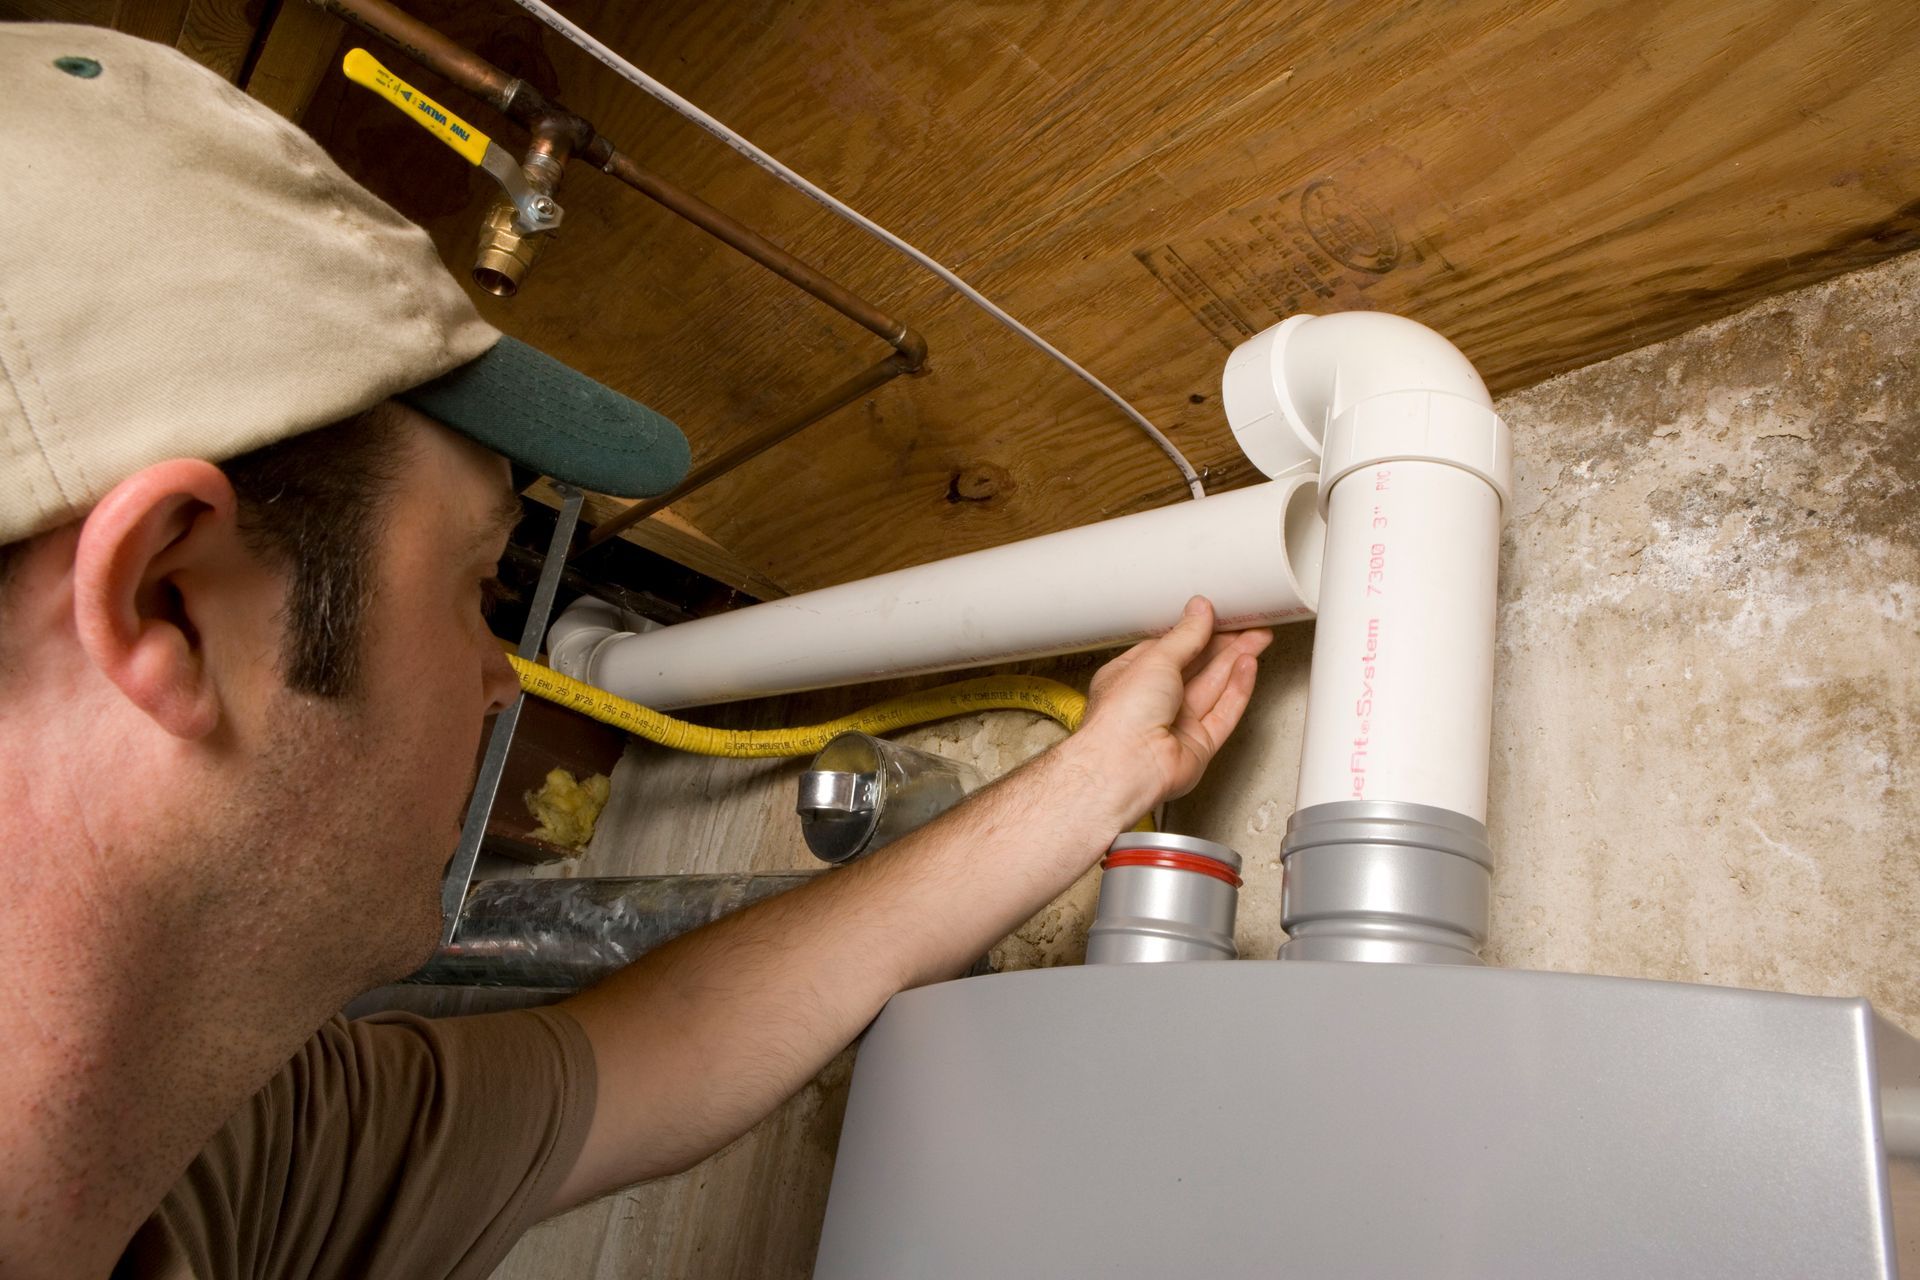
Electric water heaters require periodic checks of electrical connections to ensure efficient operation and safety. Faulty or loose connections can lead to inefficient heating or even pose a fire hazard. It's essential to turn off the power supply before inspecting any electrical components to prevent accidental injury. Carefully examine the wiring and connections for signs of wear or corrosion and tighten loose wires as needed. If you're uncomfortable handling electrical components, professional inspection and maintenance from a water heater service are always recommended.
Scheduling Professional Maintenance
Even with regular DIY maintenance, scheduling annual professional upkeep is highly advisable. A trained water heater service technician can spot issues that might be missed during casual inspections. Comprehensive professional evaluations ensure that all aspects of your water heater are operating at peak efficiency. During these check-ups, technicians will assess critical components like the heater element or burner, thermostat accuracy, and overall system integrity. Maintaining a solid rapport with a reliable service provider can benefit you in case of emergencies.
2. Flushing the Tank
Understanding Sediment Buildup
Over time, minerals from your water supply can accumulate within the water heater tank, forming sediment buildup. This accumulation often comprises calcium and lime, which settle at the tank bottom and can impair heating efficiency. Sediment not only consumes excess energy but also occupies space intended for water, reducing tank capacity. If left unaddressed, sediment can lead to strange noises, decreased heater efficiency, and eventual damage. Regular tank flushing is essential to combat these potential issues and maintain your appliance's functionality.
Step-by-step Flushing Process
Flushing your water heater tank is a straightforward process requiring basic tools. Start by shutting off the power and cold-water supply to the heater. Connect a garden hose to the tank's drainage valve, directing the hose to a suitable drainage area. Open the valve and allow the water to flow out completely, then close the valve. Finally, restart the cold-water supply and power, ensuring that the heater fills and heats water appropriately.
Frequency of Flushing
How often you should flush your water heater depends largely on your water supply's mineral content. Manufacturers and experts commonly recommend an annual flush, but personal usage and water hardness can influence this timeframe. In regions with hard water, more frequent flushes, such as every six months, may be beneficial to curb sediment accumulation. A regular schedule helps to address sediment buildup promptly, preserving heating efficiency and water heater life. Scheduling this maintenance is essential for ensuring your heater functions optimally and consistently.
Signs Your Tank Needs Flushing
Several clear indicators signal when your water heater tank requires flushing. One prominent sign is a noticeable loss in heating efficiency, resulting in insufficient hot water availability. Additionally, strange noises like popping or rumbling from the tank often signify accumulating sediment. Visible degradation in water quality due to sediment may also manifest, with cloudy water or slight discoloration present. Recognizing these cues allows for timely and necessary maintenance actions to ensure consistent performance.
Using Vinegar for Thorough Cleaning
Vinegar's natural acidity makes it an excellent tool for tackling stubborn sediment buildup within water heater tanks. To begin, turn off the power and water supply, drain the tank, then introduce vinegar through the plumbing or tank outlet. Allow the vinegar to sit for several hours, dissolving and dislodging minerals. Afterward, drain and flush the tank thoroughly with water, ensuring that all residue is removed. This inexpensive, effective cleaning method restores tank cleanliness, improving heating efficiency.
3. Adjusting the Thermostat
Ideal Temperature Settings
The water heater thermostat setting significantly influences energy consumption and safe water temperature delivery. Experts generally recommend a temperature setting of 120 degrees Fahrenheit, striking a balance between efficiency and scald prevention. Higher settings increase power usage and can cause premature wear on heating components, whereas excessively low settings may result in inadequate heating. Additionally, maintaining a safe temperature mitigates risks associated with bacterial growth, such as Legionella. Ideal thermostat settings optimize heating performance while safeguarding the household against hazards.
How to Safely Adjust the Thermostat
Before attempting thermostat adjustment, consult your water heater's manual to acquaint yourself with the device's specific calibration instructions. Start by switching off the water heater's power breaker to ensure a safe process, particularly with electric models. For electric units, access the thermostat by unscrewing the panel on the tank exterior, revealing the thermostat settings and adjustment wheel. Exercise caution when turning the dial, making minimal incremental adjustments to reach the desired temperature. Once adjustments are complete, replace the panel and restore power to verify the setting's accuracy.
Proper water heater maintenance is more than just a precaution. It's an investment in the safety, efficiency, and longevity of your home's hot water supply. By following these strategies, you can prevent unexpected breakdowns and costly repairs. Taking proactive steps today will help your water heater perform at its best for years to come, giving you peace of mind and comfort in your home. For more helpful tips, reach out to the experts at Wat-Kem Mechanical Inc today!